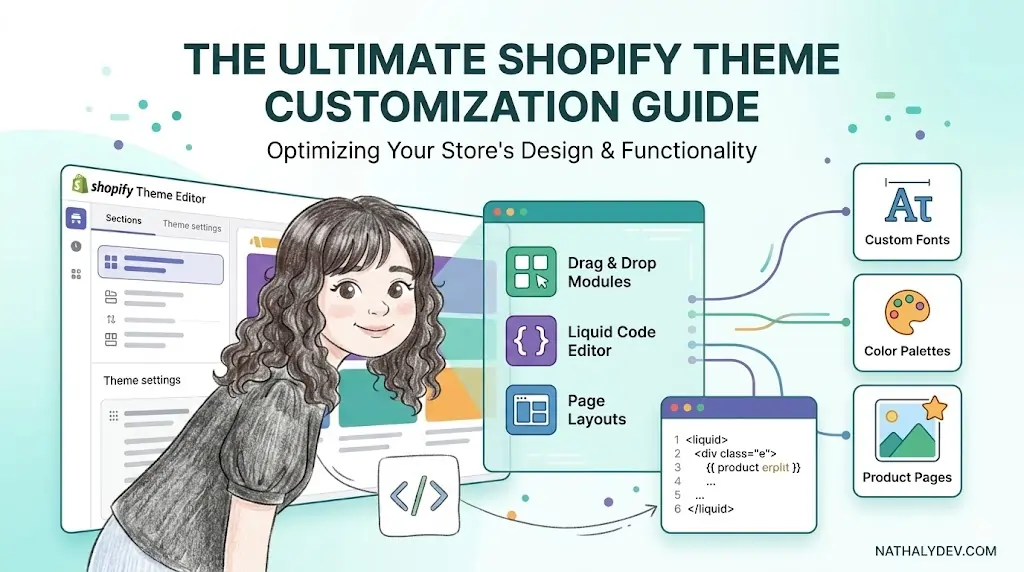
Complete Shopify Theme Customization Guide: From Basics to Advanced
Shopify theme customization is essential for creating unique, high-converting e-commerce stores. As a Shopify developer with years of experience, I’ll walk you through everything from basic modifications to advanced customizations that will set your store apart.
Understanding Shopify Theme Structure
Before diving into customization, it’s crucial to understand how Shopify themes are structured:
Core Theme Files
- layout/theme.liquid - Main layout file
- templates/ - Page templates (product, collection, cart)
- sections/ - Reusable content blocks
- snippets/ - Reusable code fragments
- assets/ - CSS, JavaScript, images
Essential Liquid Programming for Customization
Liquid is Shopify’s templating language and the foundation of theme customization.
Basic Liquid Syntax
<!-- Output variables -->
{{ product.title }}
{{ cart.total_price | money }}

<!-- Conditionals -->
{% if product.available %}
  <button>Add to Cart</button>
{% else %}
  <button disabled>Out of Stock</button>
{% endif %}

<!-- Loops -->
{% for product in collection.products %}
  {{ product.title }}
{% endfor %}
Advanced Liquid Techniques
Custom Object Properties
{% assign variant = product.selected_or_first_available_variant %}
{% if variant.compare_at_price > variant.price %}
  <span class="sale-badge">Save {{ variant.compare_at_price | minus: variant.price | money }}</span>
{% endif %}
Metafield Integration
{% if product.metafields.custom.badge_text %}
  <span class="custom-badge">{{ product.metafields.custom.badge_text }}</span>
{% endif %}
CSS Customization Strategies
1. Override Theme Styles
/* Target specific theme elements */
.product__title {
  font-family: 'Inter', sans-serif;
  font-size: 2rem;
  font-weight: 700;
}

/* Custom hover effects */
.btn--add-to-cart:hover {
  background: linear-gradient(135deg, #667eea 0%, #764ba2 100%);
  transform: translateY(-2px);
}
2. Responsive Design
/* Mobile-first approach */
@media (max-width: 768px) {
  .product-grid {
    grid-template-columns: 1fr;
    gap: 1rem;
  }
}

@media (min-width: 769px) {
  .product-grid {
    grid-template-columns: repeat(3, 1fr);
  }
}
JavaScript Integration Best Practices
1. Theme.js Extensions
// Extend theme.js functionality
theme.Product = (function() {
  function Product(container) {
    this.container = container;
    this.$container = $(container);

    this.init();
  }

  Product.prototype = Object.assign({}, Product.prototype, {
    init: function() {
      // Custom product functionality
      this.setupVariantSelectors();
      this.setupImageGallery();
    },

    setupVariantSelectors: function() {
      // Custom variant selection logic
    }
  });

  return Product;
})();
2. AJAX Cart Implementation
// AJAX cart updates
function updateCart(cart) {
  $.ajax({
    url: '/cart.js',
    dataType: 'json',
    cache: false,
    success: function(cart) {
      // Update cart UI
      $('.cart-count').text(cart.item_count);
      $('.cart-total').text(Shopify.formatMoney(cart.total_price));
    }
  });
}
Advanced Customization Techniques
1. Custom Sections
Create reusable sections for dynamic content:
{% schema %}
{
  "name": "Custom Hero Section",
  "settings": [
    {
      "type": "text",
      "id": "title",
      "label": "Title",
      "default": "Welcome to Our Store"
    },
    {
      "type": "image_picker",
      "id": "background_image",
      "label": "Background Image"
    }
  ]
}
{% endschema %}

<div class="custom-hero" style="background-image: url({{ section.settings.background_image | img_url: '2000x' }})">
  <h1>{{ section.settings.title }}</h1>
</div>
2. Theme Settings Integration
{% if settings.show_product_badges %}
  {% if product.tags contains 'new' %}
    <span class="badge new">New Arrival</span>
  {% endif %}
  {% if product.compare_at_price > product.price %}
    <span class="badge sale">On Sale</span>
  {% endif %}
{% endif %}
Performance Optimization
1. Image Optimization
<!-- Responsive images -->
<img
  src="{{ product.featured_image | img_url: '300x' }}"
  srcset="{{ product.featured_image | img_url: '300x' }} 300w,
          {{ product.featured_image | img_url: '600x' }} 600w,
          {{ product.featured_image | img_url: '900x' }} 900w"
  sizes="(max-width: 600px) 300px, (max-width: 900px) 600px, 900px"
  alt="{{ product.featured_image.alt }}"
  loading="lazy"
>
2. CSS Minification
Use CSS preprocessing and minification:
/* Optimized CSS */
.product-card{display:flex;flex-direction:column;border-radius:8px;overflow:hidden;transition:transform .3s ease}
Common Customization Challenges
1. Cross-Browser Compatibility
/* Vendor prefixes for better compatibility */
.custom-button {
  -webkit-transform: translateY(-2px);
  -moz-transform: translateY(-2px);
  -ms-transform: translateY(-2px);
  transform: translateY(-2px);
}
2. Mobile Responsiveness
<!-- Mobile-specific content -->
{% if template == 'product' %}
  <div class="product-mobile-only">
    {% render 'mobile-product-gallery' %}
  </div>
{% endif %}
Testing and Deployment
1. Theme Testing Checklist
- Cross-browser testing
- Mobile responsiveness
- Performance optimization
- Accessibility compliance
- SEO meta tags
2. Deployment Best Practices
# Shopify CLI commands
shopify theme serve --development
shopify theme push --theme <theme-name>
shopify theme publish
Conclusion
Shopify theme customization requires a solid understanding of Liquid, CSS, and JavaScript. By following these best practices and techniques, you can create stunning, high-performing Shopify stores that drive conversions and provide excellent user experiences.
Remember to always test thoroughly and stay updated with Shopify’s latest features and API changes. The key to successful customization is balancing visual appeal with performance and user experience.
Need help with your Shopify theme customization? Book a call for expert assistance with your custom Shopify development needs.
This guide covers advanced Shopify theme customization techniques. For more specific tutorials, check out our other blog posts on Shopify performance optimization and React integration with Shopify.